Quickstart: Build & deploy a full-stack web app
Hello, and welcome to Gadget!
In this quickstart you will build an app that creates and displays custom Gadgémon (Gadget Monsters). Custom sprites for your Gadgémon will be generated using OpenAI's DALL-E API and Gadget's built-in OpenAI connection.
What you'll learn
After you have finished this quickstart, you will have accomplished the following:
- Built a custom data model
- Constructed an action using the OpenAI connection (and interacted with the CRUD API)
- Setup your React frontend
- Deployed your application
Want to skip to the end? Fork the completed app to try it out and browse the code.
To view your live Development app:
- Click on your app domain in the top left corner of the Gadget app editor
- Hover over Go to app
- Click Development

Step 1: Create a new Gadget app
Every Gadget app includes a hosted Postgres database, a serverless Node backend, and a Vite + React frontend.
- Start by creating a new Gadget app at https://gadget.new
- Select the Web app template and enter your app's domain name
- Click Get started
Step 2: Build your model
Models in Gadget are similar to tables in a database. They are the building blocks of your app. Models have one or more fields. You can think of fields as columns in a database table. You can create as many models and fields as you need to build your app.
You are going to create a model to store your Gadgémon data, which includes fields to store name, type, what the Gadgémon looks similar to, and an image.
- Click the + button in the Data Models section of the toolbar to create a new model
- Rename your model's API identifier to gadgemon
When you create a new model, you get some default fields for your model's records:
- id: stores the unique ids for records, or rows, in your model
- createdAt and updatedAt: timestamps that store the time when a record was created and last updated
You can also add custom fields to your models:
- Click the + button in the Fields section of the model page to create a new field
- Rename your field's API identifier name
This string field will be used to store your Gadgémon's name. Now you can add additional fields to your model:
- Add another new string field with an API identifier of similar
- Add a new field with an API identifier of type
- Change your type field's Type or Relationship to enum
- Use the + Add Option button to add 3 options to your enum: grass, fire, and water
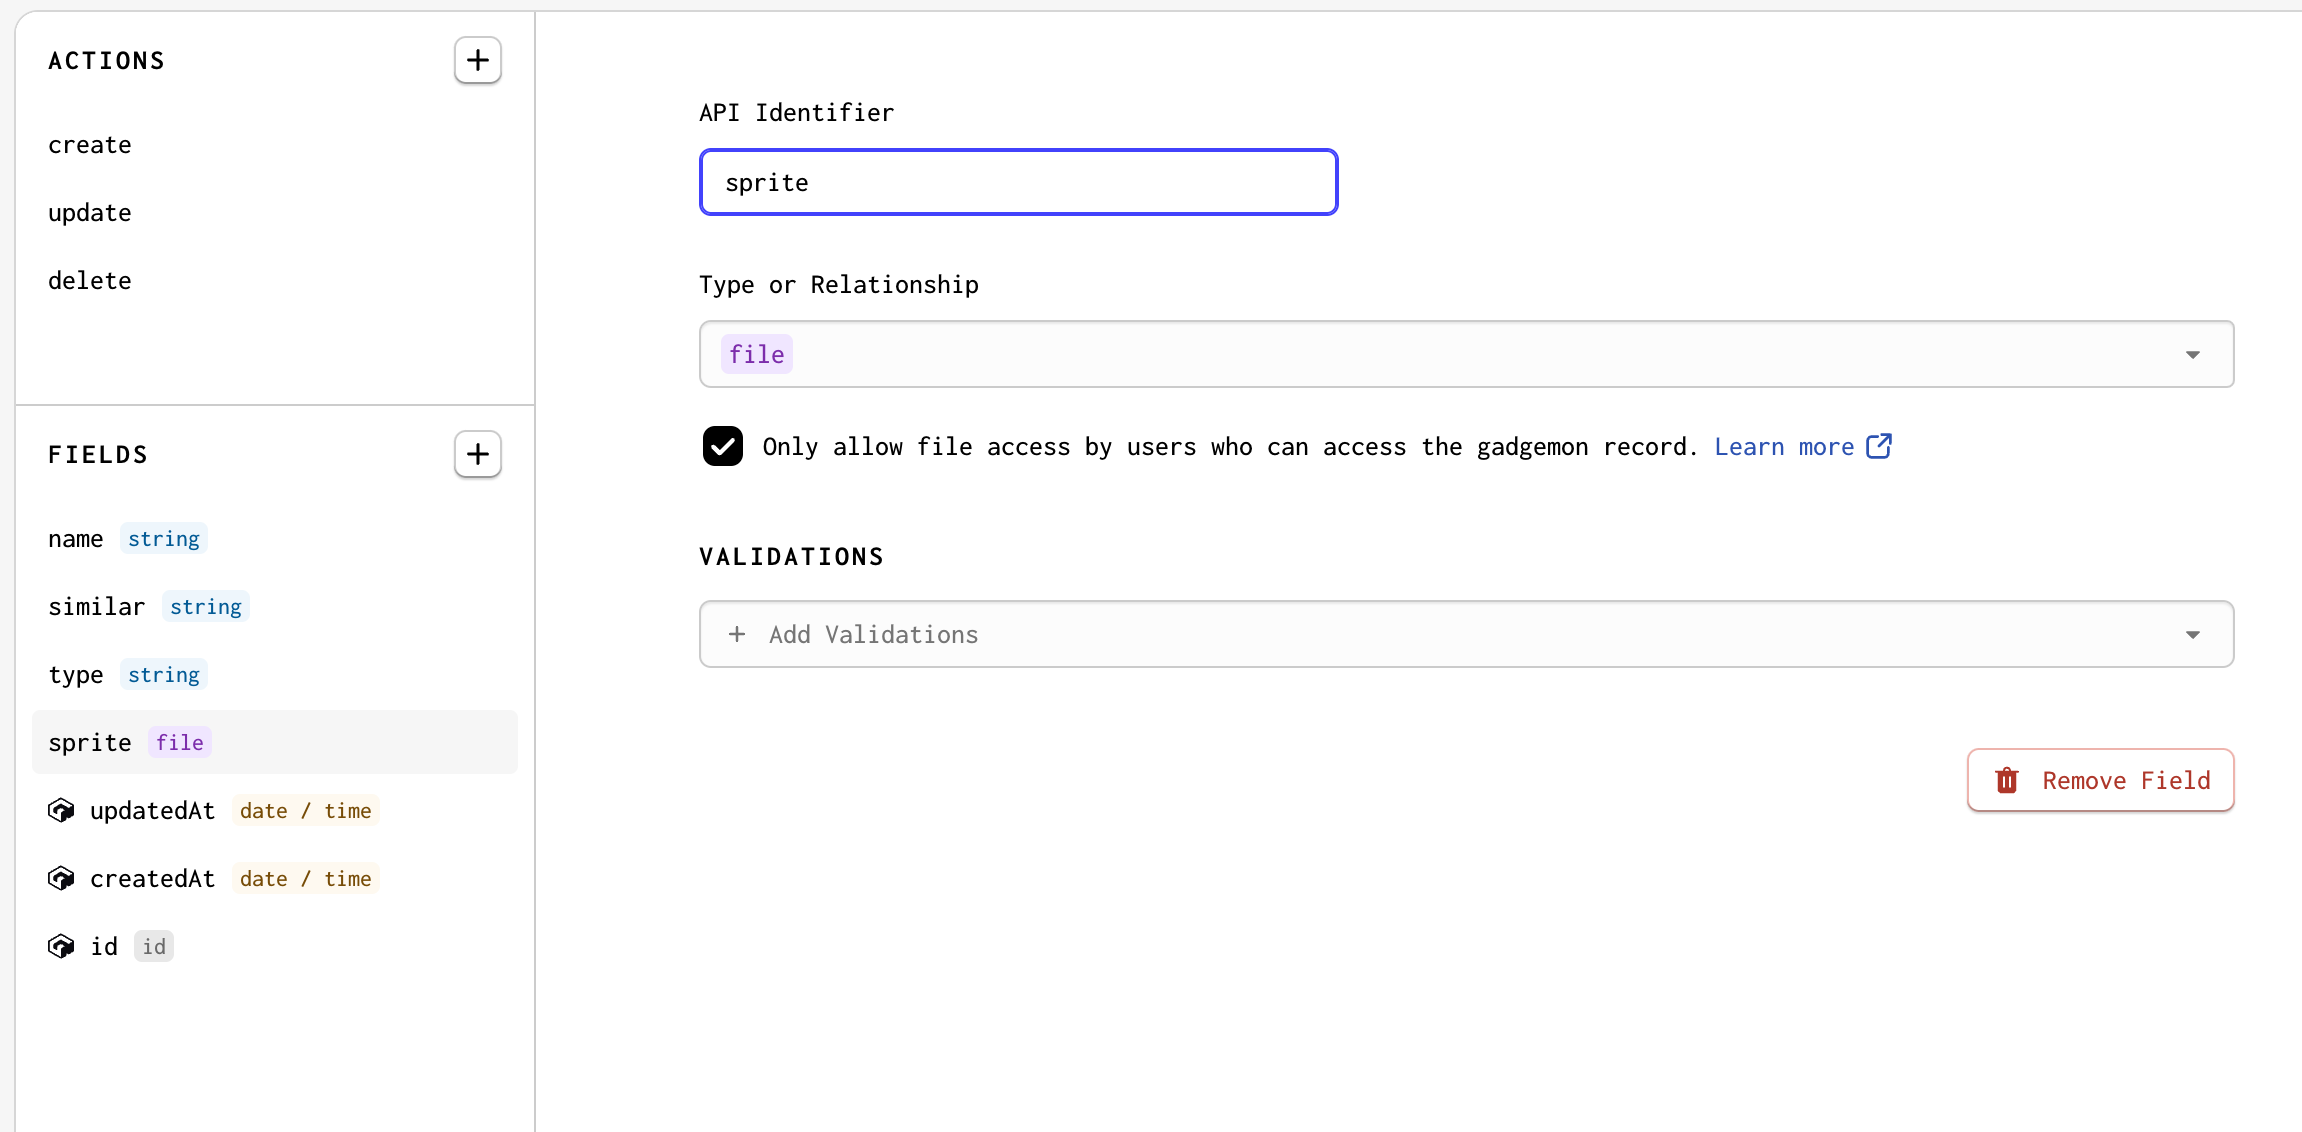
- Add a new field with an API identifier of sprite
- Change your sprite field's Type or Relationship to file
These fields will be used to store "type" info as well as a sprite image file that will be generated for your Gadgémon.
Your model should now look like this:
That's it for building your Gadgémon model! Changes to your Gadget apps are automatically saved as you build, so you can move on to the next step.
Step 3: Add the OpenAI connection
Gadget has built-in connections to popular APIs, including OpenAI. You can use these connections to interact with external services in your app.
- Click on Settings in the sidebar
- Click on Plugins
- Select OpenAI from the list of plugins
- Use the Gadget development keys so you can start using the OpenAI API without an API key
- Click Add connection
You can now use the OpenAI connection in your app to generate sprites for your Gadgémon.
Step 4: Add custom code to an action
Now that you have added fields to your Gadgémon model, you need to be able to create new records. Records in Gadget are just rows in a database table.
As you build models in Gadget, a CRUD (create, read, update, delete) API is automatically generated. You can see these actions and the code that powers them in the Actions section of the model page.
You will want to run some custom code when you create a new Gadgémon that makes a request to OpenAI's images API to generate a sprite.
- Click on the
createaction in the Actions section of thegadgemonmodel page
A JavaScript file, gadgemon/create.js is already created for you. Now you just need to add some custom code.
- Paste the following code into
gadgemon/create.js(replace the entire file):
gadgemon/create.jsJavaScript1import { applyParams, save, ActionOptions, CreateGadgemonActionContext } from "gadget-server";23/**4 * @param { CreateGadgemonActionContext } context5 */6export async function run({ params, record, logger, api }) {7 applyParams(params, record);8 await save(record);9}1011/**12 * @param { CreateGadgemonActionContext } context13 */14export async function onSuccess({ params, record, logger, api, connections }) {15 // "record" is the newly created Gadgemon, with name, similar and type fields that will be added by the user16 const { id, name, similar, type } = record;1718 // prompt sent to OpenAI to generate the Gadgemon sprite19 const prompt = `A pixel art style pokemon sprite named ${name} that looks similar to a ${similar} that is a ${type} type. Do not include any text, including the name, in the image`;2021 // call the OpenAI images generate (DALL-E) API: https://github.com/openai/openai-node/blob/v4/src/resources/images.ts22 const response = await connections.openai.images.generate({23 prompt,24 n: 1,25 size: "256x256",26 response_format: "url",27 });2829 const imageUrl = response.data[0].url;3031 // write to the Gadget Logs32 logger.info({ imageUrl }, `Generated image URL for Gadgemon id ${id}`);3334 // save the image file to the newly created Gadgémon record35 await api.gadgemon.update(id, {36 gadgemon: {37 sprite: {38 copyURL: imageUrl,39 },40 },41 });42}4344/** @type { ActionOptions } */45export const options = {46 actionType: "create",47};
This code block has two built-in functions:
- the
runfunction is the first thing that executes when thecreateaction is called. It takes theparamsfrom the action call and applies them to therecordthat is being created, then saves that record to the database. - the
onSuccessfunction is called after therunfunction and is good to use for long-running or secondary effects, like image generation using OpenAI.
The custom code added to onSuccess does three things:
- it uses the OpenAI connection to make a request and returns a new image for your Gadgémon
- it writes a log message to the Gadget Logs
- it saves the image file to the newly created Gadgémon record
The api from the function's parameters is used to update this record with a generated sprite image. The api object gives you full access to your Gadget app's API.
copyURL is a special command used to store files in your Gadget database from a URL. See the storing files documentation to learn more about storing files in Gadget.
Test your action with the API Playground
Gadget comes with a built-in API Playground where you can test out your backend API. You can use the API Playground to test out your Gadgémon models' create action.
- On the Gadgémon model's page, click the
createaction, then the Run Action button - the API Playground will open with the create mutation pre-loaded - Enter some values for your Gadgémon's name, similar, and type fields in the Variables section of the Playground
json1{2 "gadgemon": {3 "name": "Gadgetbot",4 "similar": "robot",5 "type": "grass"6 }7}
- Click the run button to run the create action
This will create a new record in your model, and send off a request to generate a new sprite image. You should see a success message in the playground, and can hover over the sprite url field to preview your Gadgémon. You can also view your record on the model's Data page.
- Click on the
gadgemonmodel in the sidebar - Click on the Data tab

You can see that your record was stored in the database and that an image was generated. You can view the generated image by copying the url value from the sprite field and pasting it into your browser.
To view the log message you wrote in your action, you can view the Gadget Logs:
- Click on Logs in the sidebar
- Turn the My events toggle on by clicking the switch - you may also need to adjust the time range to see your log message
You should see the log message that was written when you ran your action.

Now that you know that you can create new Gadgémon records, you can move on to building a frontend so you can create and view your Gadgémon with a UI.
Step 5: Setup your frontend
In Gadget, your Vite + React frontend is found inside the frontend folder. New Gadget apps have a starter template that you will edit to build your app frontend:
- a Vite project is initialized, including the
vite.config.jsandindex.htmlfiles in the root folder of your app - a default React project is set up in the
frontendfolder, includingmain.jsx,App.jsx, andApp.css, and two routes in thefrontend/routesfolder - an API client is already set up in
frontend/api.js, and is imported intoApp.jsx - an auth system, including email/password and Google SSO is included
First, install a component library to style your frontend.
Install Material UI (MUI)
You may have noticed the package.json in the file explorer. Gadget runs on Node.js, so you can use yarn to install Node.js packages to your app. You will use Material UI (MUI) to style your frontend.
- Open the Gadget command palette with P or Ctrl P
- Type
>to enable terminal mode - Run the following command:
Run in the Gadget command paletteyarnyarn add @mui/material @mui/styles @emotion/react @emotion/styled
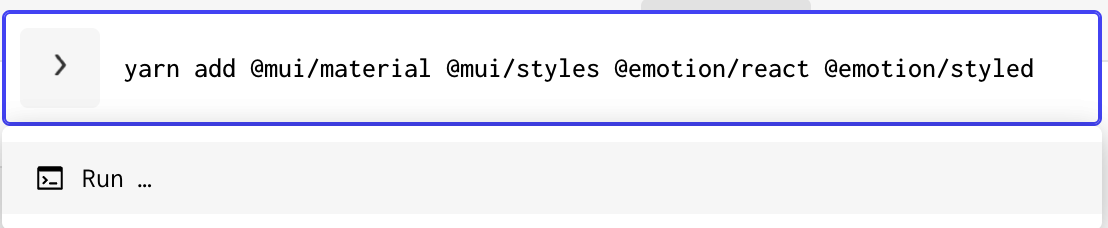
This will install MUI and its dependencies to your app. Currently, only yarn is supported for package management in your Gadget apps. Once the install is complete, you will be able to see these packages in your package.json file.
Your React frontend will have two main sections: a form used to create new Gadgémon and a list of the Gadgémon that have already been created. Start by adding a section for displaying your already-created Gadgémon.
Display your Gadgémon
We will need to read and write using our gadgemon model's CRUD API. To do this, we will use the useFindMany and useActionForm hooks, provided by the @gadgetinc/react package. These hooks take in the API client, which you can import from the api.js file in the frontend folder.
- Edit the
frontend/routes/signed-in.jsxfile to add the following code:
frontend/routes/signed-in.jsxReact1import { api } from "../api";2import { useFindMany } from "@gadgetinc/react";3import { Paper, Grid, Card, Stack, CircularProgress } from "@mui/material";45export default function () {6 // the useFindMany hook is used to read records from the Gadgemon model7 const [{ data: myGadgemon, fetching: fetchingGadgemon }] = useFindMany(api.gadgemon);89 return (10 <Paper>11 <Grid container spacing={2} p={2}>12 <Grid item xs={10}>13 <div style={{ height: "calc(90vh - 80px)", width: "100vh", overflowY: "auto" }}>14 <Stack spacing={2}>15 <h2>My Gadgémon</h2>16 <Grid container>17 {fetchingGadgemon && <CircularProgress />}18 {myGadgemon?.map((gadgemon, i) => (19 <Grid item xs={3} key={`gadgemon_${i}`} px={1} pt={0} pb={2}>20 <Card variant="outlined">21 <Grid container direction="column" alignItems="center">22 <b>{gadgemon.name}</b>23 <img src={gadgemon.sprite?.url} />24 the "{gadgemon.type} {gadgemon.similar}" Gadgémon25 </Grid>26 </Card>27 </Grid>28 ))}29 {myGadgemon?.length === 0 && <b>Start by creating a Gadgémon!</b>}30 </Grid>31 </Stack>32 </div>33 </Grid>34 </Grid>35 </Paper>36 );37}
One key line to pay attention to is:
frontend/routes/signed-in.jsxJavaScriptconst [{ data: myGadgemon, fetching: fetchingGadgemon, error: readError }] = useFindMany(api.gadgemon);
The useFindMany hook will read data from your gadgemon model, and return an object that includes:
- the returned
data, aliased asmyGadgemon fetching, a boolean that is true while the request is running and aliased asfetchingGadgemonerror, which will contain any errors that occur while fetching the data
Now you can see your Gadgémon in the frontend. Just open up your development environment URL in your browser:
- Click on your app domain name at the top of the left sidebar
- Hover over Go to app
- Click on Development to open your app in a new tab
- Sign up using either Google SSO, or email/password auth to get access to the
signed-inroute
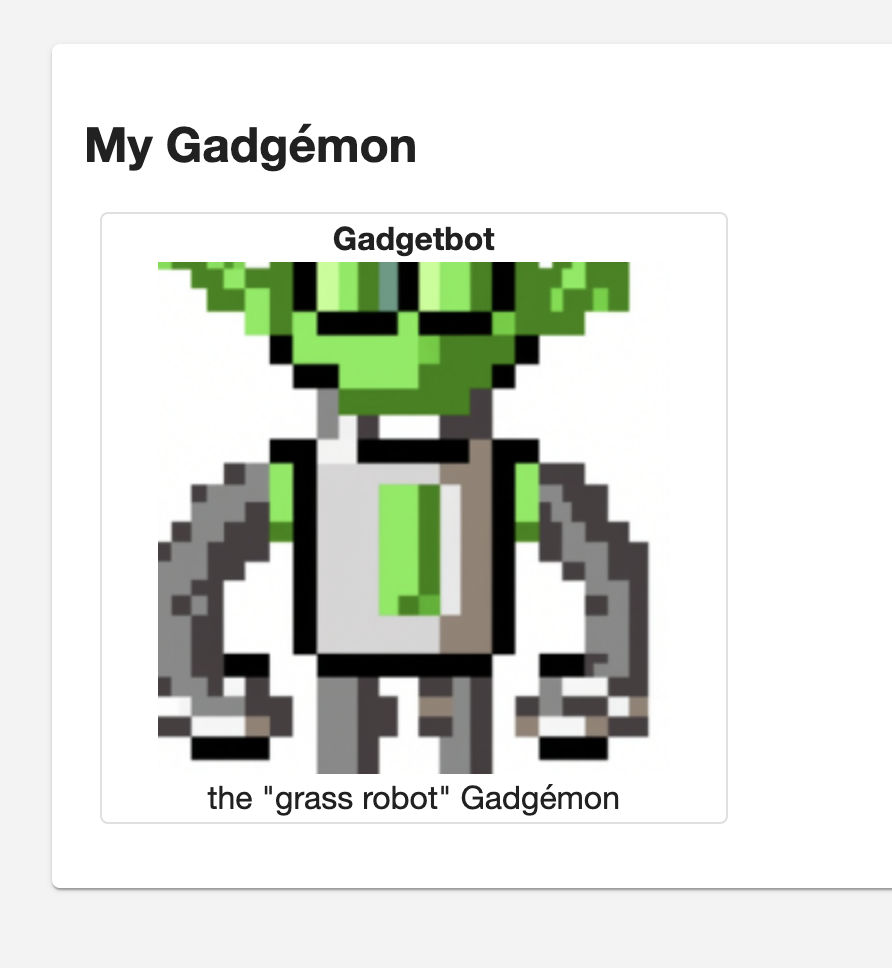
Once you have signed-up and signed-in, you should see your Gadgémon displayed on the page.
Create new Gadgémon
Now add a form to create a new Gadgémon. You can use the useActionForm hook, provided by the @gadgetinc/react package to create a new Gadgémon record in your backend API, and handle all of our frontend form state. This hook accepts your Gadget API's gadgemon.create action as an argument. For more information on useActionForm see the reference docs.
- Replace all contents of
frontend/routes/signed-in.jsx(again):
frontend/routes/signed-in.jsxReact1import { useState } from "react";2import { api } from "../api";3import { useFindMany, useSignOut, useActionForm, Controller } from "@gadgetinc/react";4import {5 Paper,6 Grid,7 Card,8 Stack,9 CircularProgress,10 TextField,11 MenuItem,12 FormControl,13 Button,14 LinearProgress,15 Alert,16 Link,17} from "@mui/material";1819export default function () {20 // the useSignOut hook logs the existing user out21 const signOut = useSignOut();2223 // use React state to display recently-created Gadgemon24 const [gadgemonPreview, setGadgemonPreview] = useState(null);2526 // the useActionForm hook is used to call the gadgemon.create action27 // and manages form state and submission28 const { submit, control, formState, error, reset } = useActionForm(api.gadgemon.create, {29 defaultValues: {30 name: "",31 similar: "",32 type: "",33 },34 onSuccess: (actionResult) => {35 setGadgemonPreview(actionResult);36 // reset the form once submission is complete37 reset();38 },39 });4041 // the useFindMany hook is used to read records from the Gadgemon model42 const [{ data: myGadgemon, fetching: fetchingGadgemon }] = useFindMany(api.gadgemon);4344 return (45 <Paper>46 {error && (47 <Alert severity="error">48 <code>{error.message}</code>49 </Alert>50 )}51 <Grid container spacing={2} p={2}>52 <Grid item xs={2}>53 <FormControl fullWidth>54 <form onSubmit={submit}>55 <Stack spacing={2}>56 <h2>Gadgémon factory</h2>57 <Controller58 name="name"59 control={control}60 required61 render={({ field }) => (62 <TextField63 label="Name"64 size="small"65 fullWidth66 variant="outlined"67 required68 disabled={formState.isSubmitting}69 {...field}70 />71 )}72 />73 <Controller74 name="similar"75 control={control}76 required77 render={({ field }) => (78 <TextField79 label="Looks like a..."80 size="small"81 fullWidth82 variant="outlined"83 required84 disabled={formState.isSubmitting}85 {...field}86 />87 )}88 />89 <Controller90 name="type"91 control={control}92 required93 render={({ field }) => (94 <TextField select label="Type" required disabled={formState.isSubmitting} {...field}>95 <MenuItem value={"grass"}>Grass</MenuItem>96 <MenuItem value={"water"}>Water</MenuItem>97 <MenuItem value={"fire"}>Fire</MenuItem>98 </TextField>99 )}100 />101 <Button variant="contained" disabled={formState.isSubmitting} type="submit">102 Create Gadgémon103 </Button>104 {formState.isSubmitting && (105 <Stack spacing={1}>106 <span>Creating new Gadgémon!</span>107 <LinearProgress />108 </Stack>109 )}110 {gadgemonPreview?.sprite && (111 <Card variant="outlined">112 <img src={gadgemonPreview.sprite.url} />113 </Card>114 )}115 </Stack>116 </form>117 </FormControl>118 <Link onClick={signOut}>Sign Out</Link>119 </Grid>120 <Grid121 item122 xs={10}123 sx={{124 overflowY: "auto",125 height: "calc(90vh - 80px)",126 width: "100vh",127 }}128 >129 <Stack spacing={2}>130 <h2>My Gadgémon</h2>131 <Grid container>132 {fetchingGadgemon && <CircularProgress />}133 {myGadgemon?.map((gadgemon, i) => (134 <Grid item xs={3} key={`gadgemon_${i}`} px={1} pt={0} pb={2} display="flex">135 <Card variant="outlined">136 <Grid container direction="column" alignItems="center">137 <b>{gadgemon.name}</b>138 <img src={gadgemon.sprite?.url} />139 the "{gadgemon.type} {gadgemon.similar}" Gadgémon140 </Grid>141 </Card>142 </Grid>143 ))}144 {myGadgemon?.length === 0 && <b>Start by creating a Gadgémon!</b>}145 </Grid>146 </Stack>147 </Grid>148 </Grid>149 </Paper>150 );151}
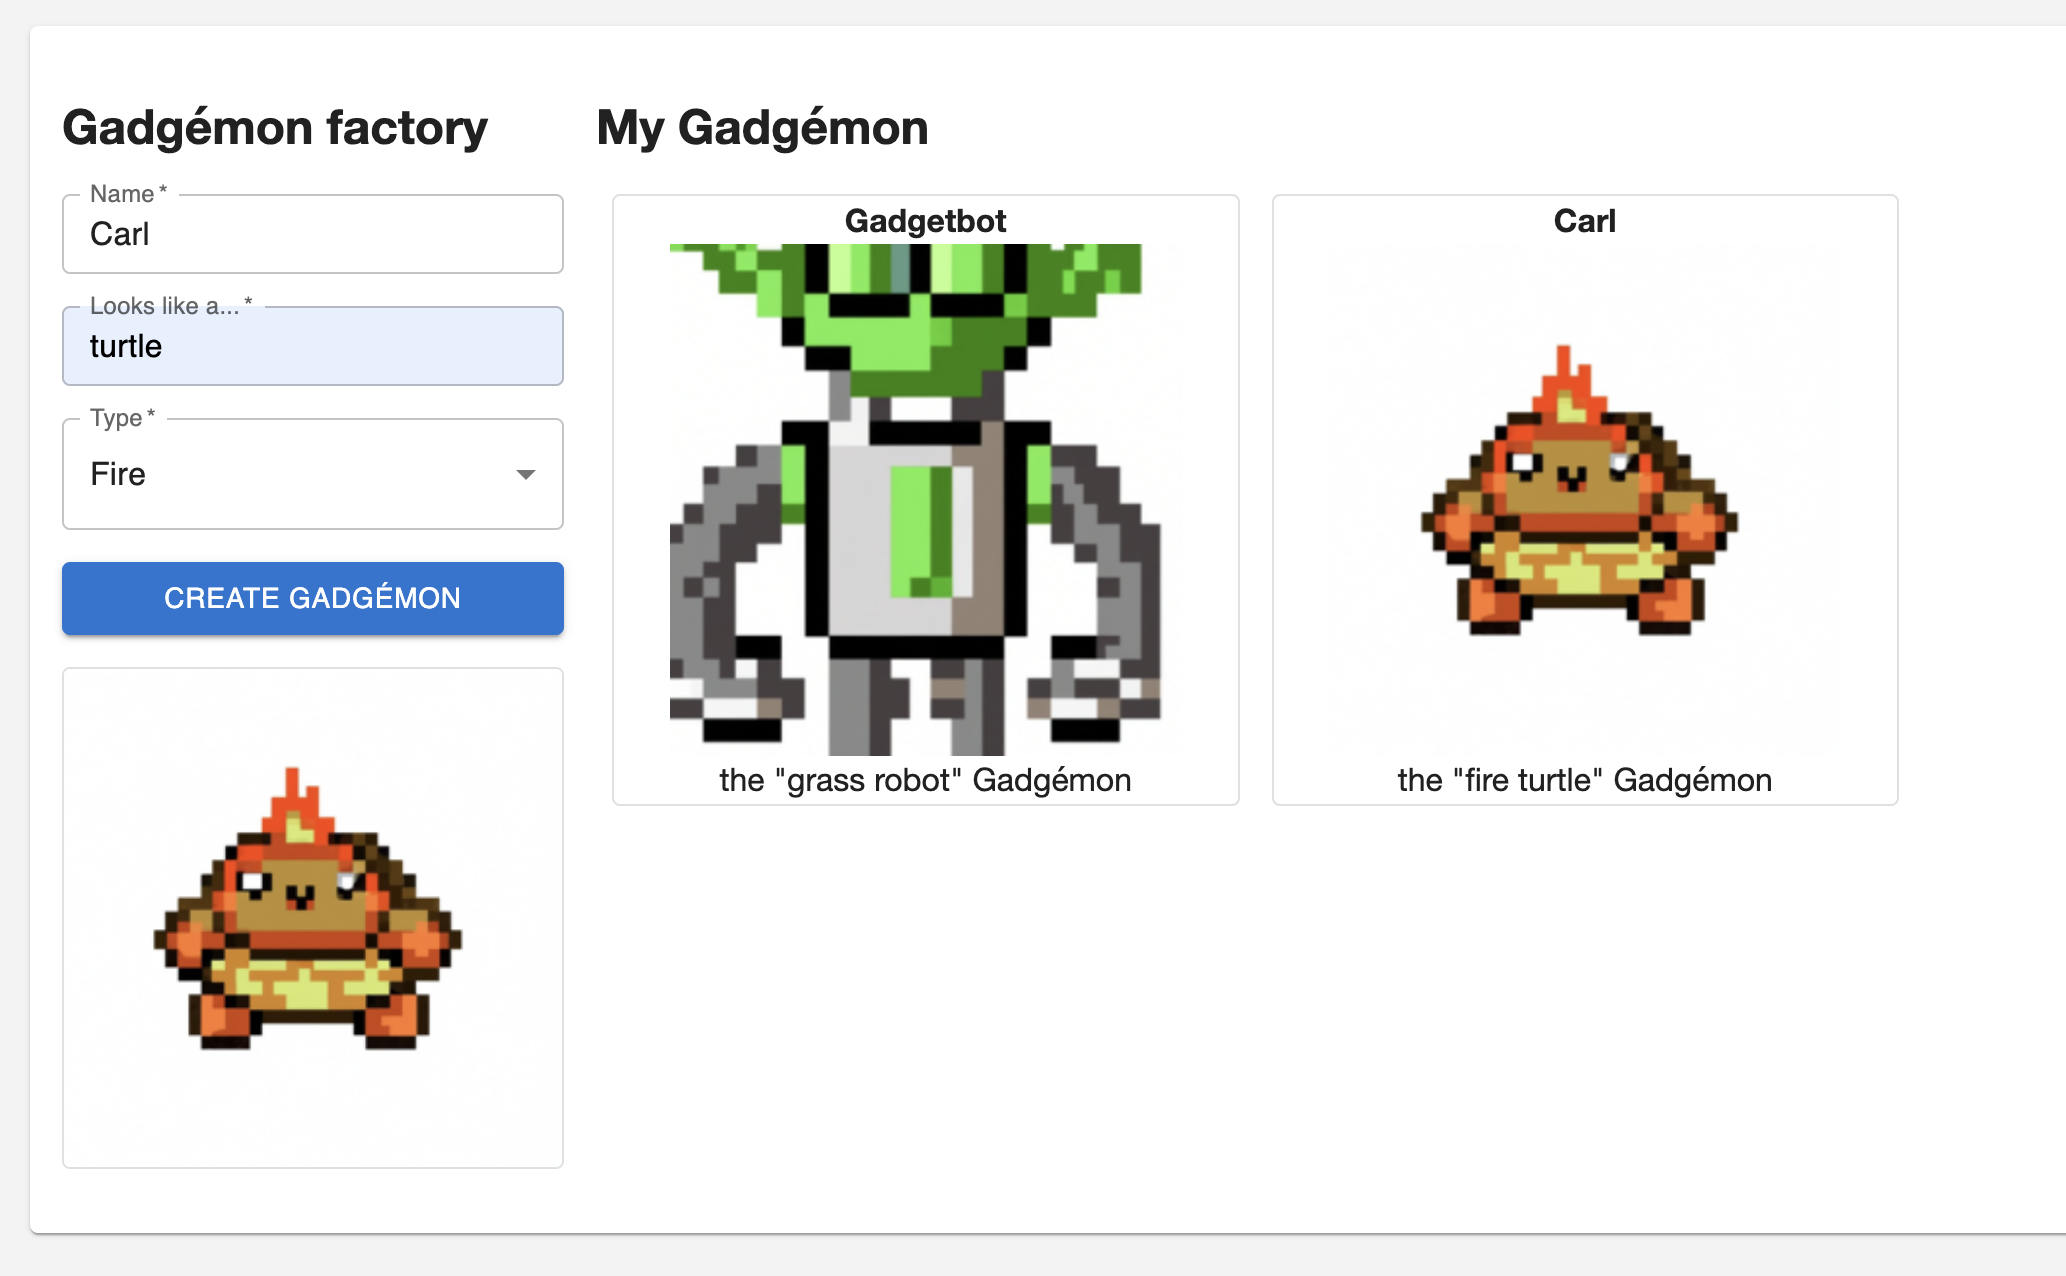
You are now done building your full-stack app. You can test it out in your development environment.
Test your app
Head back to your development URL and you should see your form. Gadget frontends include hot module reloading so the frontend will update as you write code. Try creating a new Gadgémon.
Step 6: Deploy your app
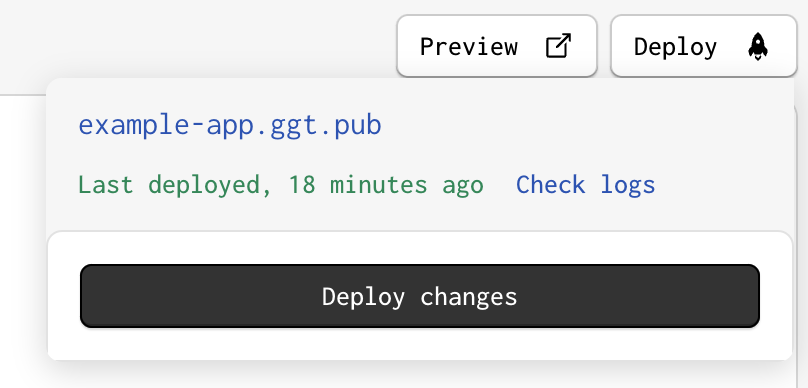
Deploying to production is a two-click process:
- Click the Deploy button in the bottom right of the Gadget UI
- Then click the Deploy Changes button
Your app will be built and optimized for production, and available at your production URL. To view your app in production:
- Click on your app domain in the top left of the Gadget UI
- Hover over Go to app
- Click Production
Your production app will open, and you can create your first Gadgémon in production!
Congrats! You have built your first full-stack Gadget application and have learned how to:
- build data models
- add custom code to model actions
- change API permissions
- call your app's API (actions) from the frontend
Next steps
Try out some of our other tutorials to learn more about building with Gadget:
Automated product tagger
Build an embedded Shopify app that automatically tags products in a store based on description keywords.
Start building →
AI Screenwriter
Learn how to build a web app that writes fake movie scenes using the OpenAI plugin and vector embeddings.
Start building →
Questions?
Reach out on Gadget's Discord server to talk with Gadget employees and the Gadget developer community!