Forward Shopify data to an external service
Time to build: ~10 minutes
Gadget simplifies the process of forwarding Shopify data to external services, like ERPs or PIMs. It can also be used to build a two-way data sync between Shopify and another service.
In this tutorial, you will learn how to build a middleware application that forwards new orders from Shopify to an existing service:

The Shopify connection handles Shopify's auth, webhooks subscriptions, and historical data sync. Background actions make it simple to summon the infrastructure you need to reliably move data between systems and deal with rate limits, retries, and errors.
Prerequisites
Before starting, you will need:
Step 1: Create a Gadget app and connect to Shopify
The first step is to create a new Gadget app and connect it to Shopify.
- Create a new Gadget app at gadget.new.
- Follow the Shopify quickstart guide to connect to Shopify.
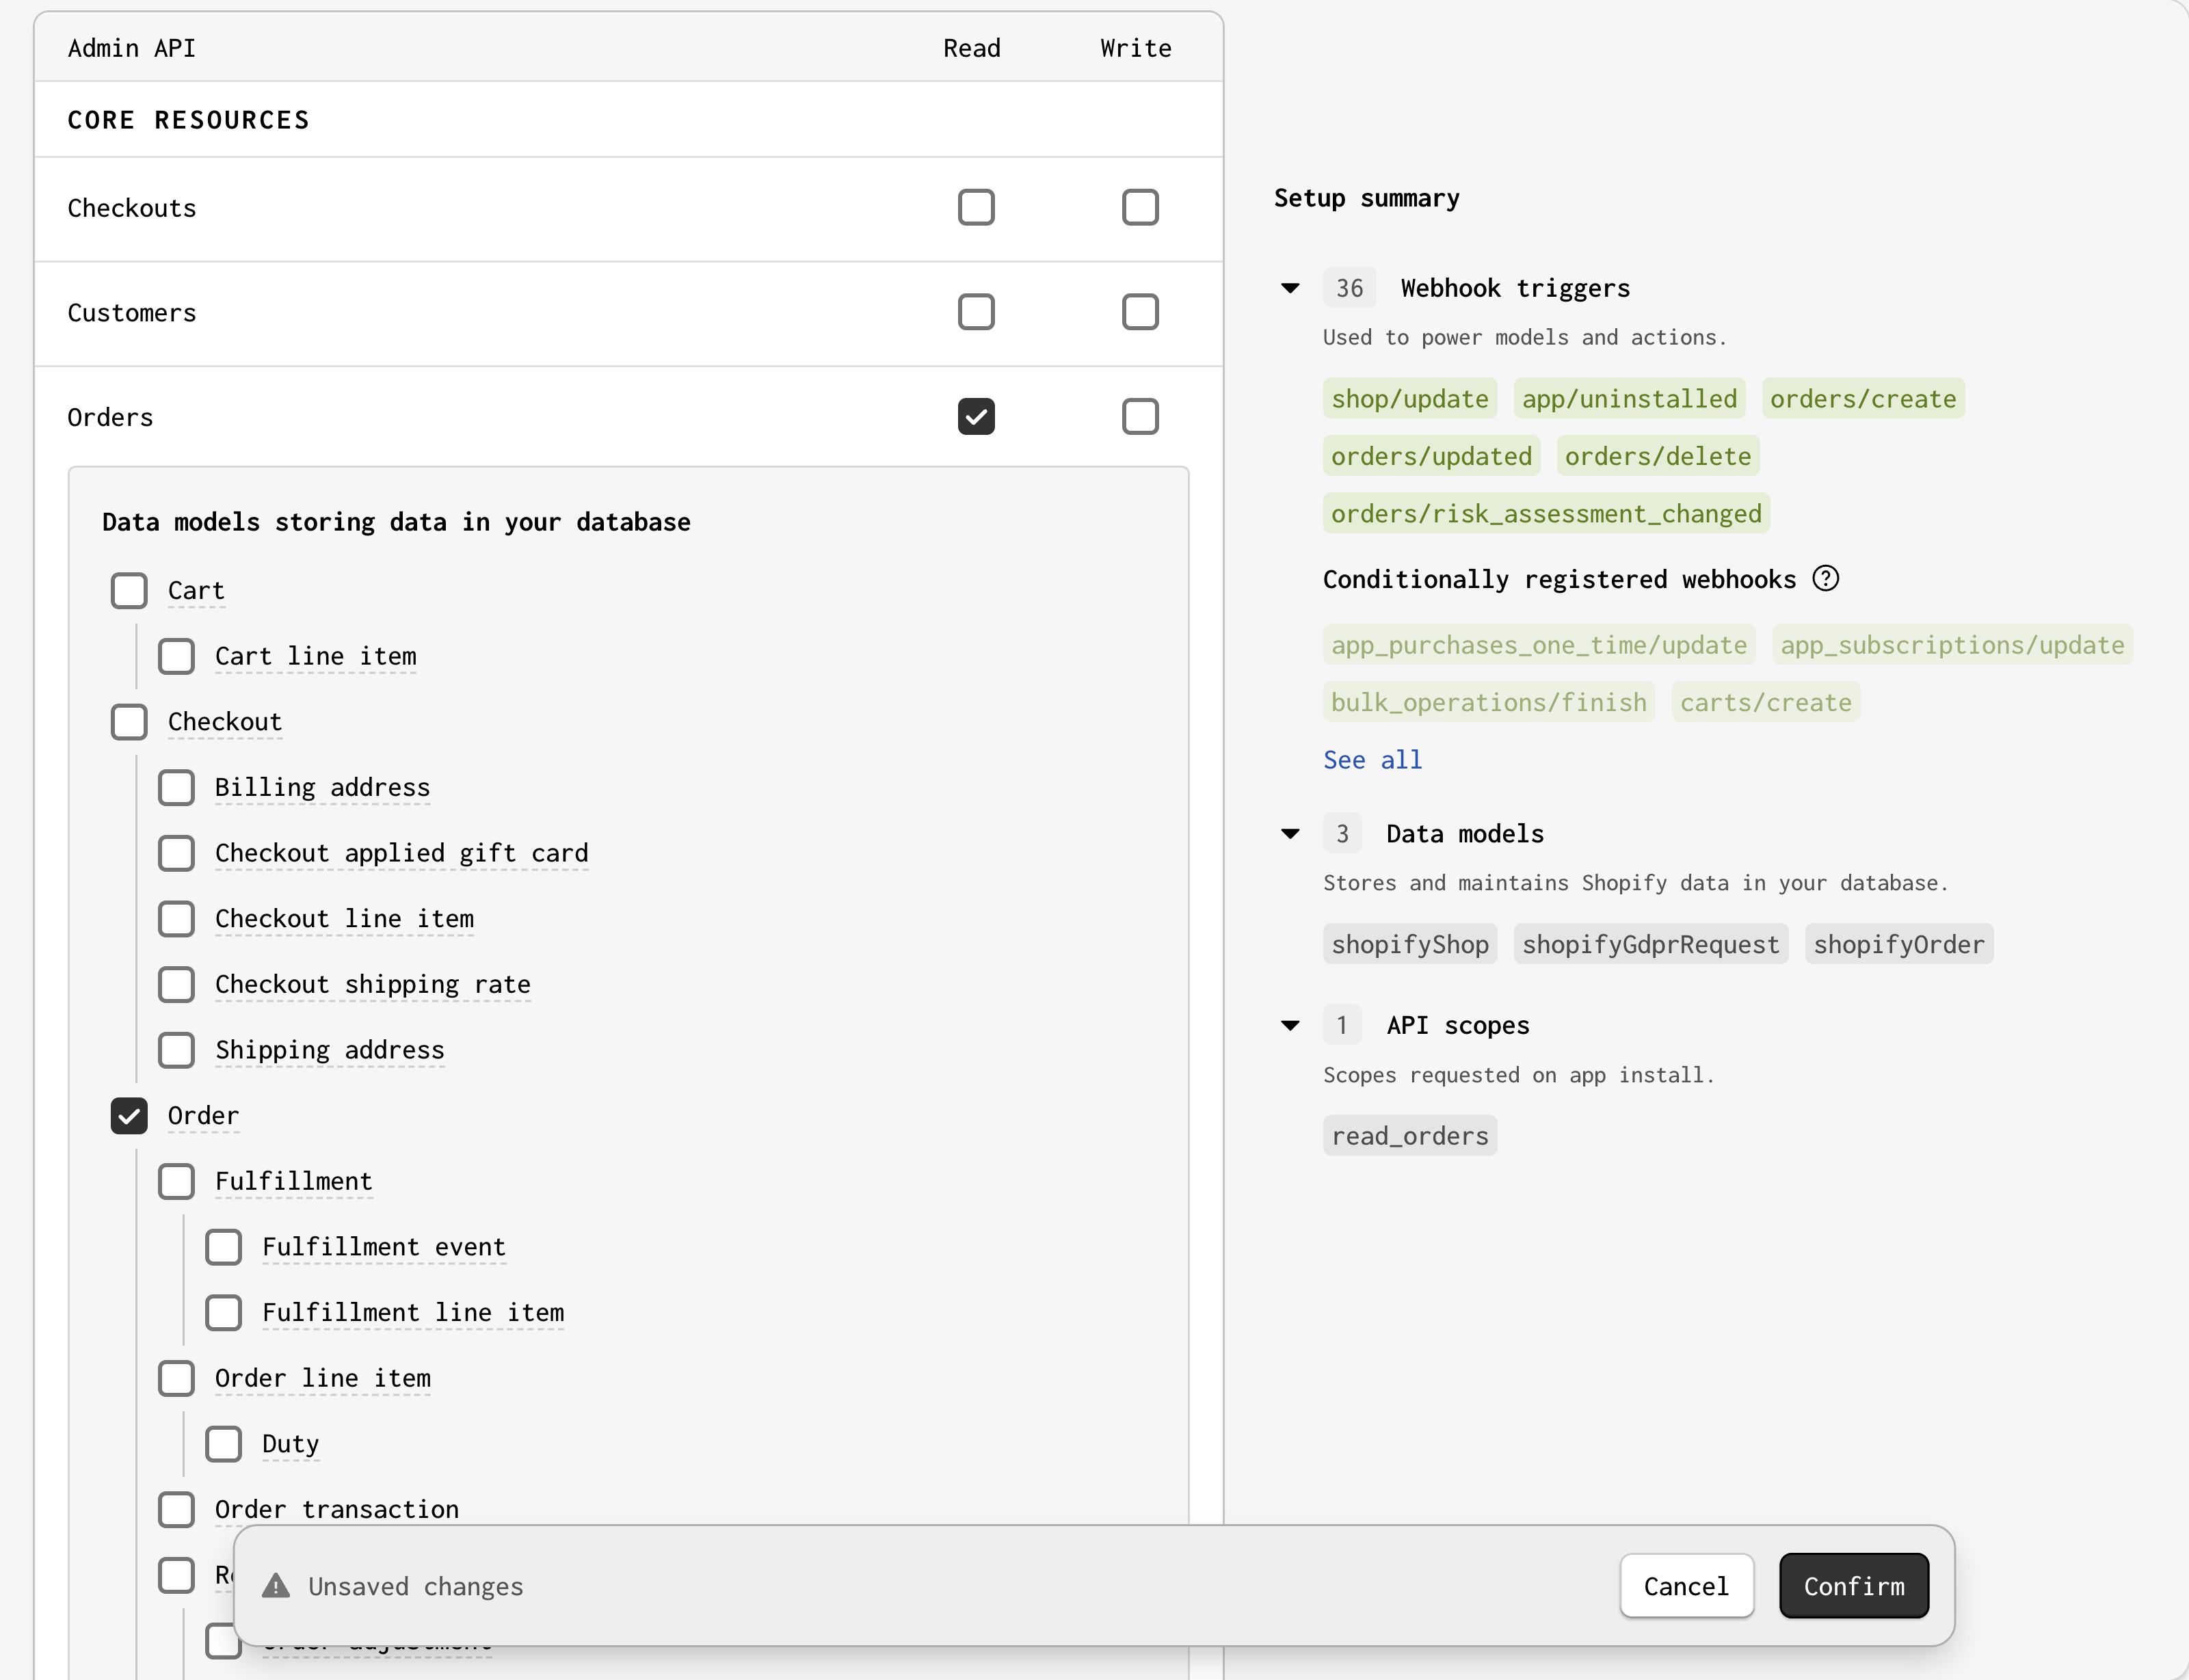
For this tutorial, you need the read_orders scope and the order model:
You will be prompted to request access to protected customer
data. This is required to be able to subscribe to
orders/* webhooks and sync order data.
Fill out the required part of the form (Protected customer data) in the Partners dashboard before you
install your app on a development store.
Gadget will copy the selected shopifyOrder model, field types and validations, and relationships into your Gadget backend. These models are ready to process webhooks or sync historical data as soon as you install the app on a Shopify store.
Step 2: Create a custom action to forward orders
Now that you have connected to Shopify, create a custom action to forward order data to another service.
- Create a new action by adding a file in
api/models/shopifyOrder/actionscalledforward.js(click + to create a new action) - Paste the following code into
forward.js:
This action simply uses Node's built-in fetch call to send data to an external service. If the request is successful, the response is logged. If the request fails, an Error is thrown and the action will be retried by the background action queue.
Replace the fetch call with the appropriate method for sending data to your existing service. For example, you might use a client
library to send data to an ERP system.
Now all you need to do is add a forward action call to the background action queue whenever a new order is created.
Step 3: Add actions to the queue
We want to add our forward action calls to our background action queue. We can do this from the shopifyOrder model's create action. The create action will be called when a Shopify orders/create webhook is fired or a historical data sync is run.
- Paste the following code into
api/models/shopifyOrder/actions/create.js:
The api.enqueue() function adds the forward action to the background action queue. enqueue() takes the action to be enqueued as the first argument, and the parameters to be passed to the action as the second argument.
The third parameter defines retry and concurrency settings for background actions. We provide a named queue to limit the maximum concurrency to 1, which helps deal with rate limits on the external service.
Step 4: Test the app
That's all that is required to implement a middleware application that forwards Shopify orders to an existing service.
You can test the app by:
- Creating a new order in your Shopify store (via the admin or storefront) OR running a historical data sync in Gadget (Installs > Sync).
- Click on Queues in the editor to view your background action queue. You should see all actions that have been added to the queue, whether they are waiting to be run, encountered an error and are retrying, or have run successfully.
- You should see the order data logged in your Logs for successful action runs.
Congrats! You have built a middleware application that forwards Shopify orders to an external service.
Next steps
Have questions about the tutorial? Ask the Gadget team in our developer Discord.
Building a two-way sync
You can also build a two-way sync between Shopify and your external service. Two-way syncs keep data consistent between two systems.
Typically, a two-way sync is built by:
- Forwarding data from Shopify to the external service using the method described in this tutorial.
- Adding an HTTP route to your Gadget app that can be used to subscribe to webhooks from the external service OR adding a scheduled action to periodically poll the external service for updates.
- Using another custom action and background actions to forward updates to Shopify.
- Using timestamps or the
RecordAPI's change detection to avoid webhook loops (where a record is updated in Shopify > forwarded to the external service > which triggers a webhook back to Gadget > which updates the record in Shopify > and so on).
Webhook filtering
Gadget supports Shopify webhook filtering, allowing you to subscribe to a subset of events for a given webhook topic. For example, you can subscribe to orders/create webhooks only for orders over $100.
Filtering can drastically reduce the number of webhooks that need to be processed by your app (and lower the amount of request time used for middleware applications). Read more about Shopify webhook filtering.