The most common use cases for HTTP routes in Gadget are:
Shopify HMAC validation
3rd party webhook handling
AI streaming
HMAC validation
When making calls to your Gadget backend from a Shopify storefront it is a good idea to set up a Shopify app proxy to make sure that requests are being made to your routes in a secure manner.
Note that a valid HMAC signature doesn't set the session to an authenticated role. This means that making a POST request to your GraphQL
API would be using the unauthenticated role.
Once your Shopify app proxy is set up, you can make proxied requests from Shopify Liquid code to your Gadget backend and have context to the current shop making the request. This is possible because the Gadget platform handles validating the HMAC signature, sent in the request query parameters, for you.
In any proxied, route you'll have the connections.shopify.current context, allowing you to make authenticated requests to the Shopify API.
If a customer is logged in to the Shopify store, Shopify sends logged_in_customer_id in the request's query params. You can then use this to fetch or update customer data in your Gadget backend.
api/routes/proxy/GET-my-protected-route.js
JavaScript
import { RouteHandler } from "gadget-server";
/**
* Route handler for GET proxy
*
* See: https://docs.gadget.dev/guides/http-routes/route-configuration#route-context
*/
const route: RouteHandler = async ({ request, reply, api, logger, connections }) => {
const customerId = request.query.logged_in_customer_id;
// This can also be done in an `onRequest` hook
if (!customerId) {
return await reply.code(401).send({ error: { message: "Unauthorized" } });
}
const customer = await api.shopifyCustomer.maybeFindOne(customerId, {
select: {
customData: true,
// ... other fields
},
});
if (!customer)
return await reply.code(404).send({ error: { message: "Customer not found" } });
await reply.send({
...customer,
});
};
export default route;
For a full working example, we recommend that you fork the product-quiz application and complete its setup steps.
When you need to listen to webhooks from a service that Gadget does not have a connection for, you can use an HTTP route to listen to the webhook and trigger your logic. For this example, we'll use GitHub's webhook service to listen to star events on a repository.
An example route file for this use case would look like this:
api/routes/POST-github-webhook.js
JavaScript
import { RouteHandler } from "gadget-server";
const route: RouteHandler = async ({ request, reply, logger }) => {
// write the incoming webhook payload to the logs
logger.debug({ request }, "log the incoming webhook request");
// reply with a 204 response
return await reply.code(204).send();
};
export default route;
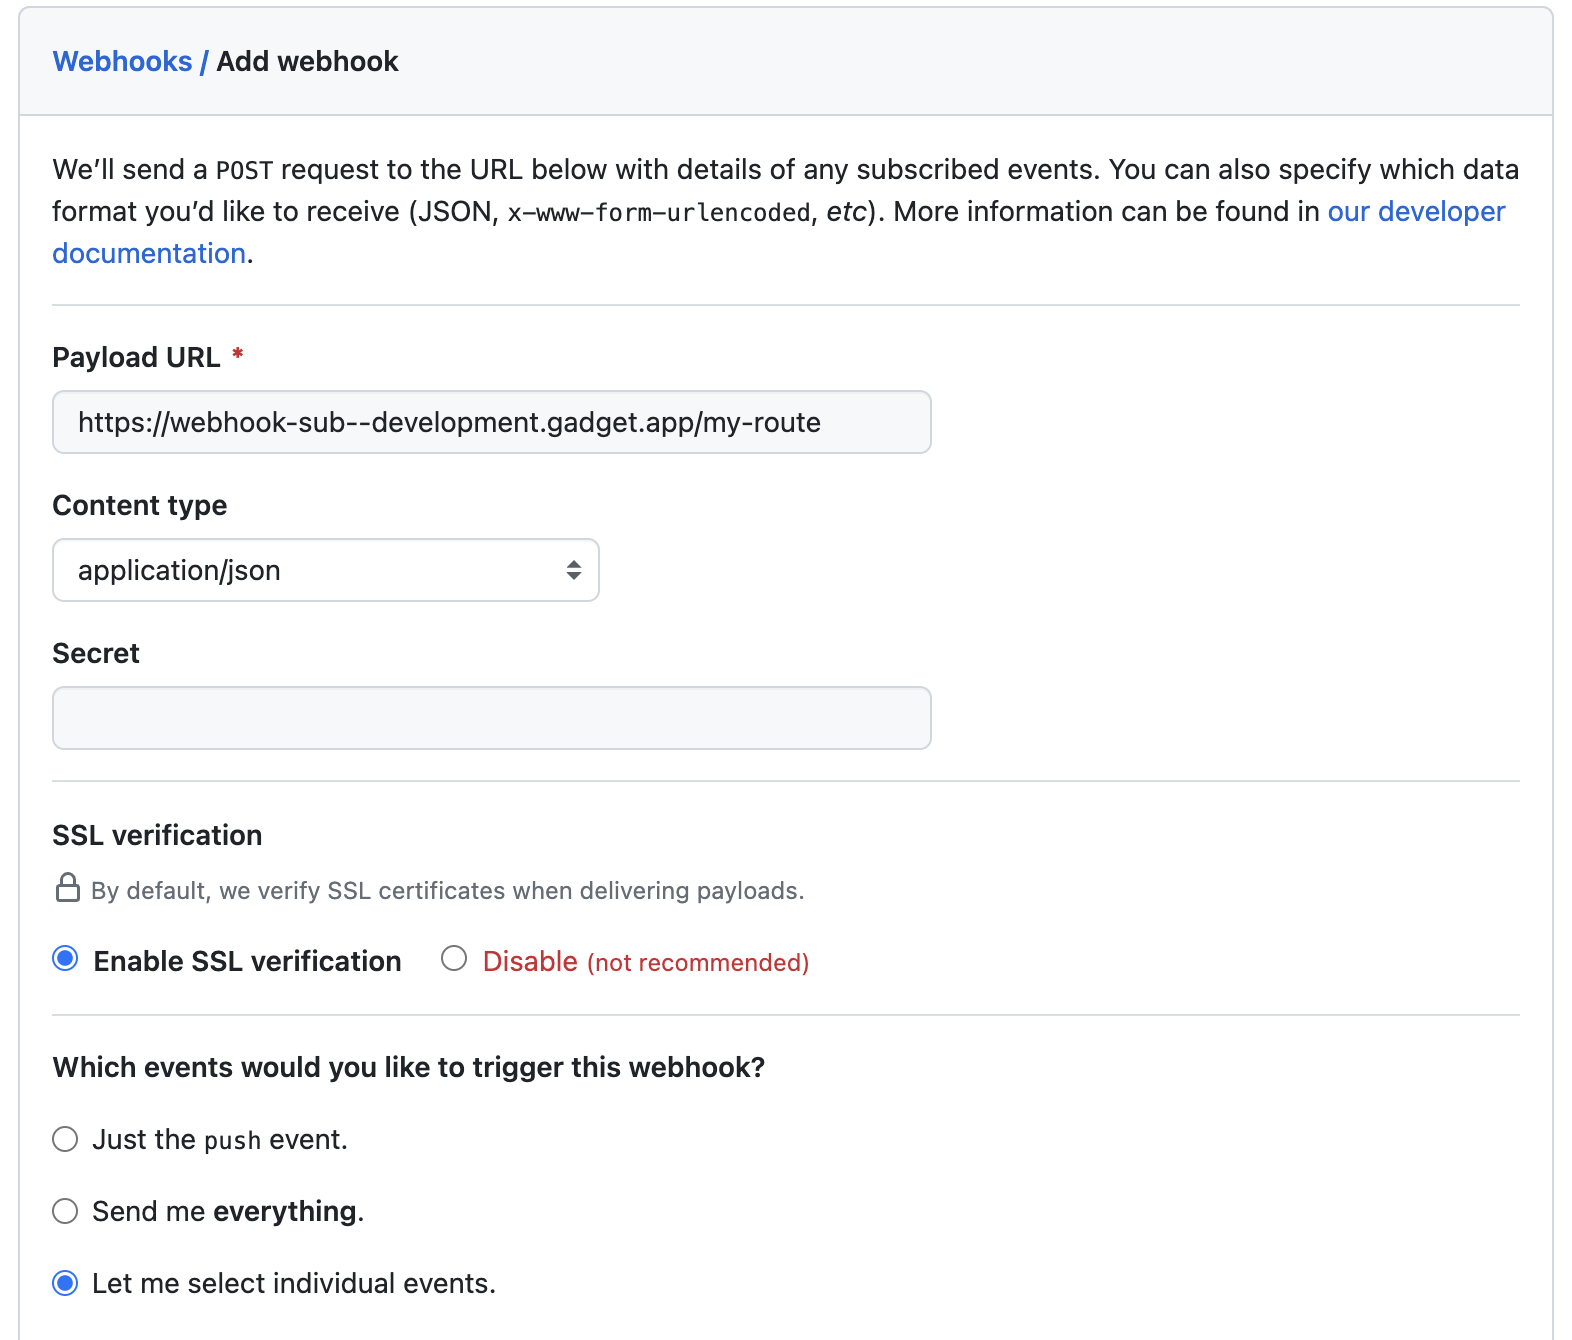
Now you can hook up this new route to a webhook subscription. For this example, we'll use GitHub's star events webhook. To subscribe to this webhook:
Log into your GitHub account and navigate to one of your repositories or create a new, empty repo
Click on Settings --> Webhooks --> Add webhook
In the Payload URL field, enter the URL for your new Gadget route
In the Content type field, select application/json
In the Which events would you like to trigger this webhook? section, select Let me select individual events. and then select Stars from the list of events. Uncheck the default Pushes event.
Click Add webhook to save your webhook subscription
That's all that is required, GitHub will send a webhook to your Gadget route! You can test this by starring and unstarring your repository and then checking your app's logs.
AI response streaming
You can use routes to stream responses from AI. Let's say that you have a chatbot and want users to be able to see the response as it's being generated. For this example we'll use OpenAI's GPT-4 model to generate responses to chat messages.
This example is partially taken out of our chatgpt-template. If you'd like to take a look at a working example, I would recommend
forking the application with this link.