Sentry
What does the Sentry connection provide?
- The Sentry SDK is initialized for you so that it can be used inside any of your actions.
- Any uncaught exceptions are automatically captured and sent to Sentry using the initialized SDK.
Setting up the Sentry connection
Create a project in Sentry
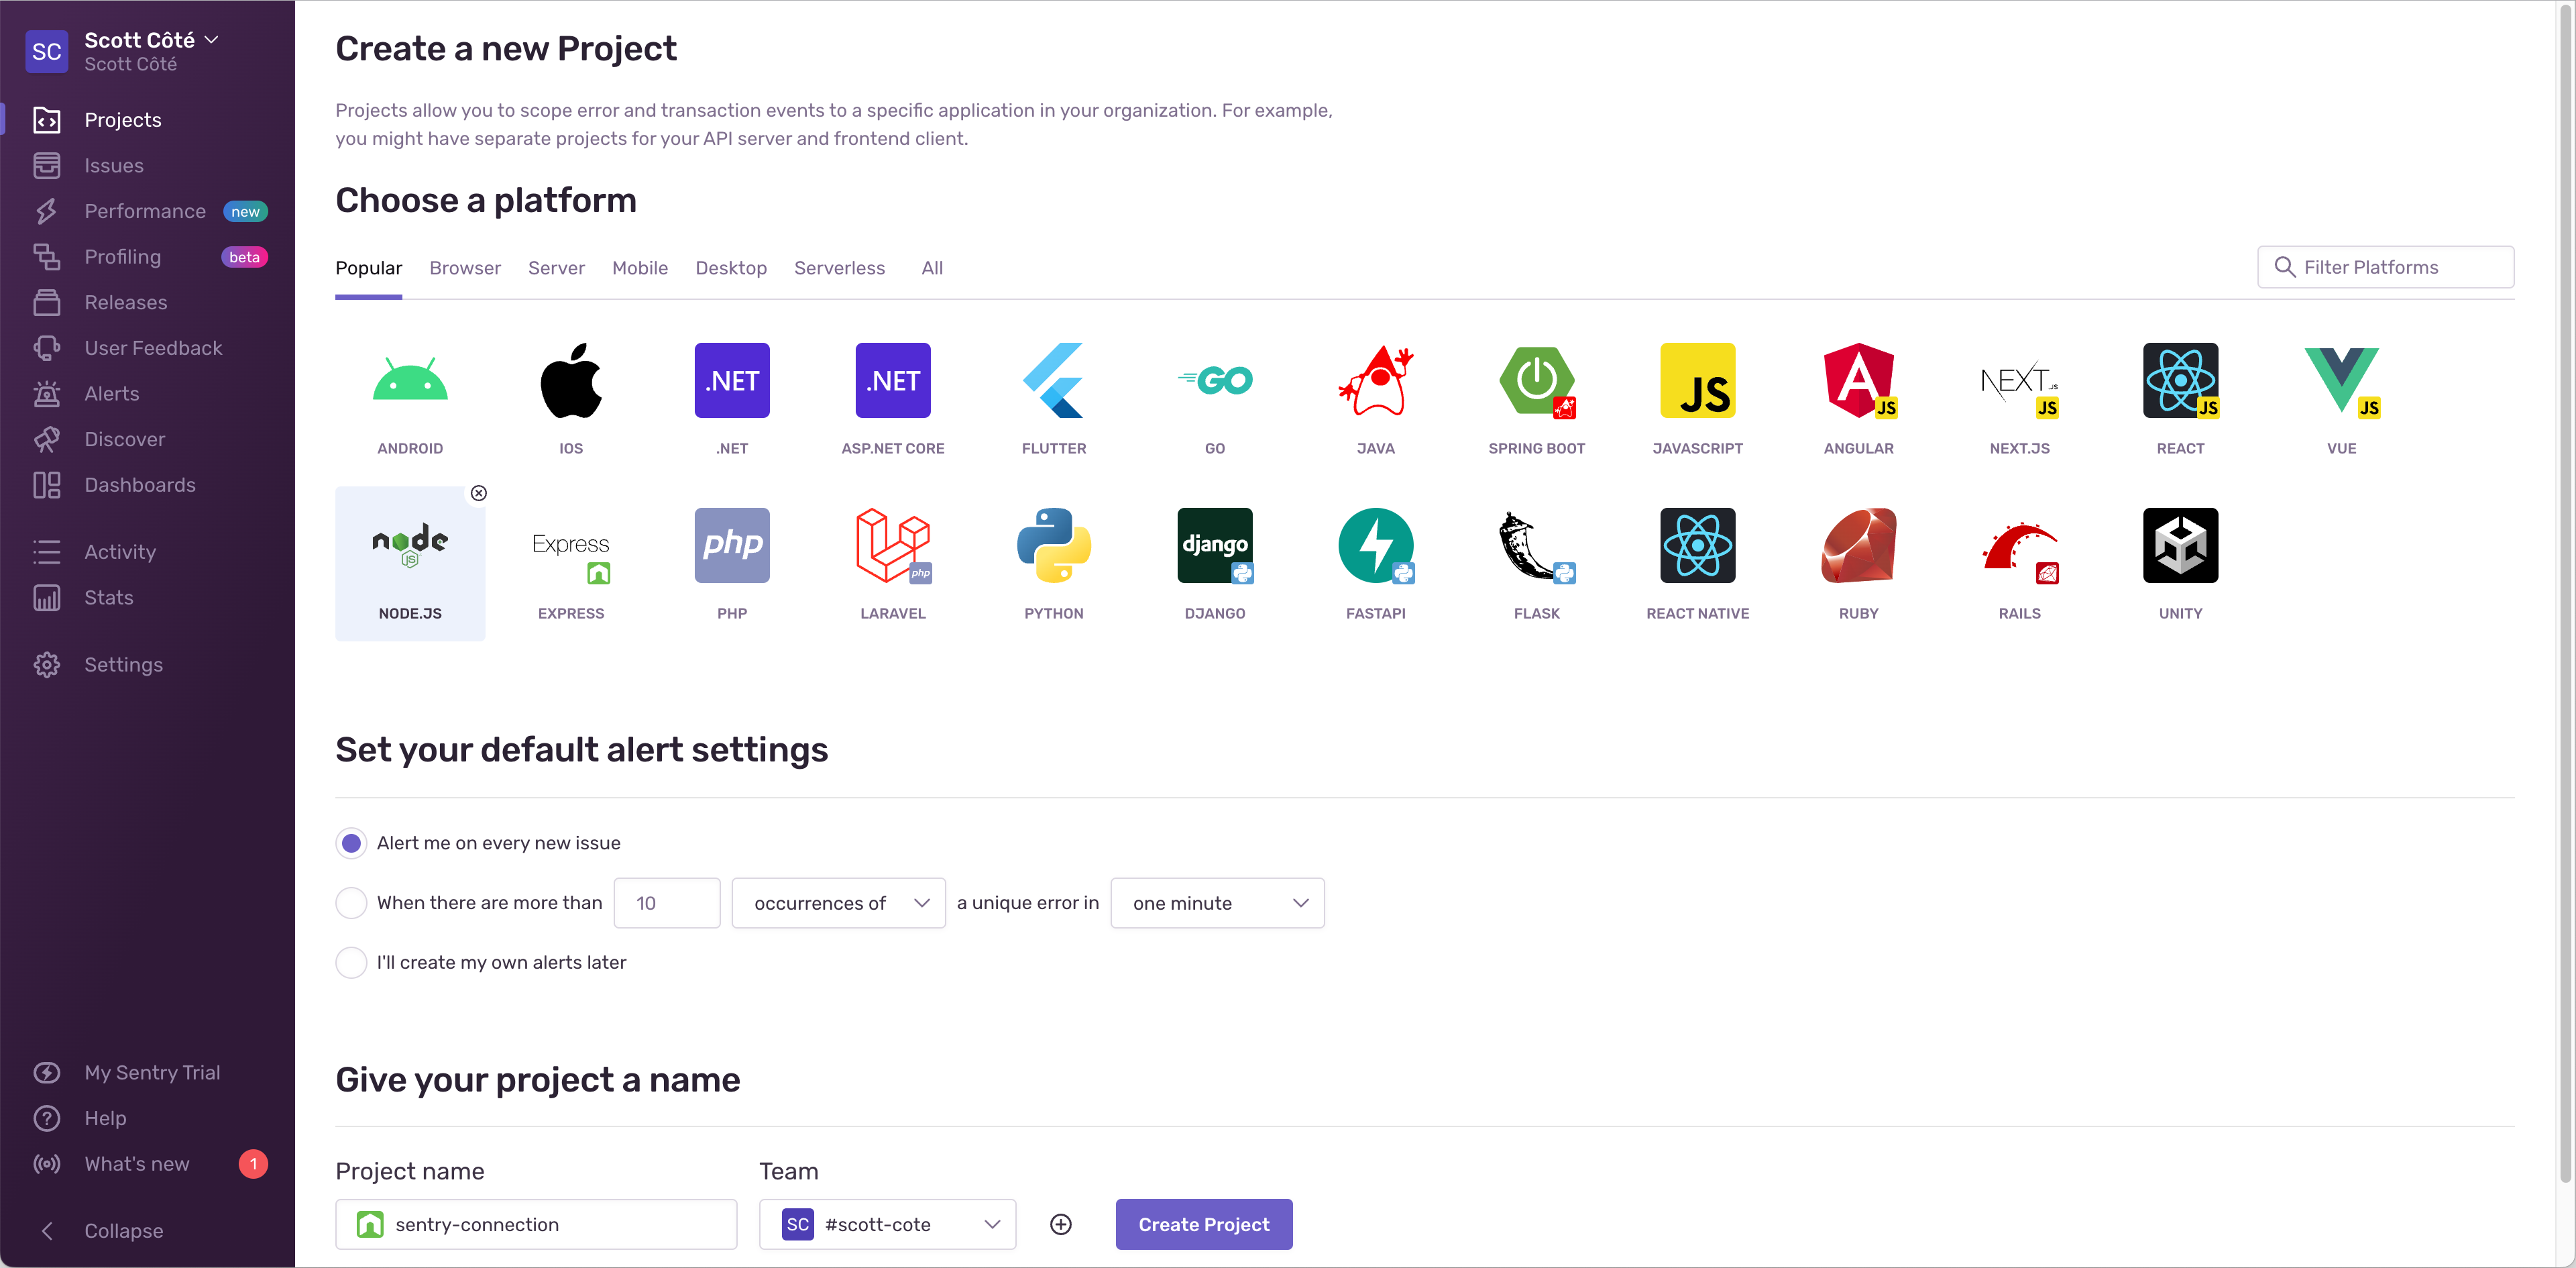
First, create a project in Sentry and select Node.JS as the platform. If you already have a Node.JS project, you can skip this step.
Copy your project's DSN
Next, you will need to copy the Data Source Name (DSN) from your Sentry project's settings page. This is the URL that the SDK will use to send events to Sentry.
To view your DSN, click on the project's name to view the project details page, then click on the gear icon on the top right to view the project's settings page, and then click on Client Keys in the left sidebar.
Once you're on the Client Keys page, copy the DSN to your clipboard using the copy icon.

Add the Sentry connection to your app
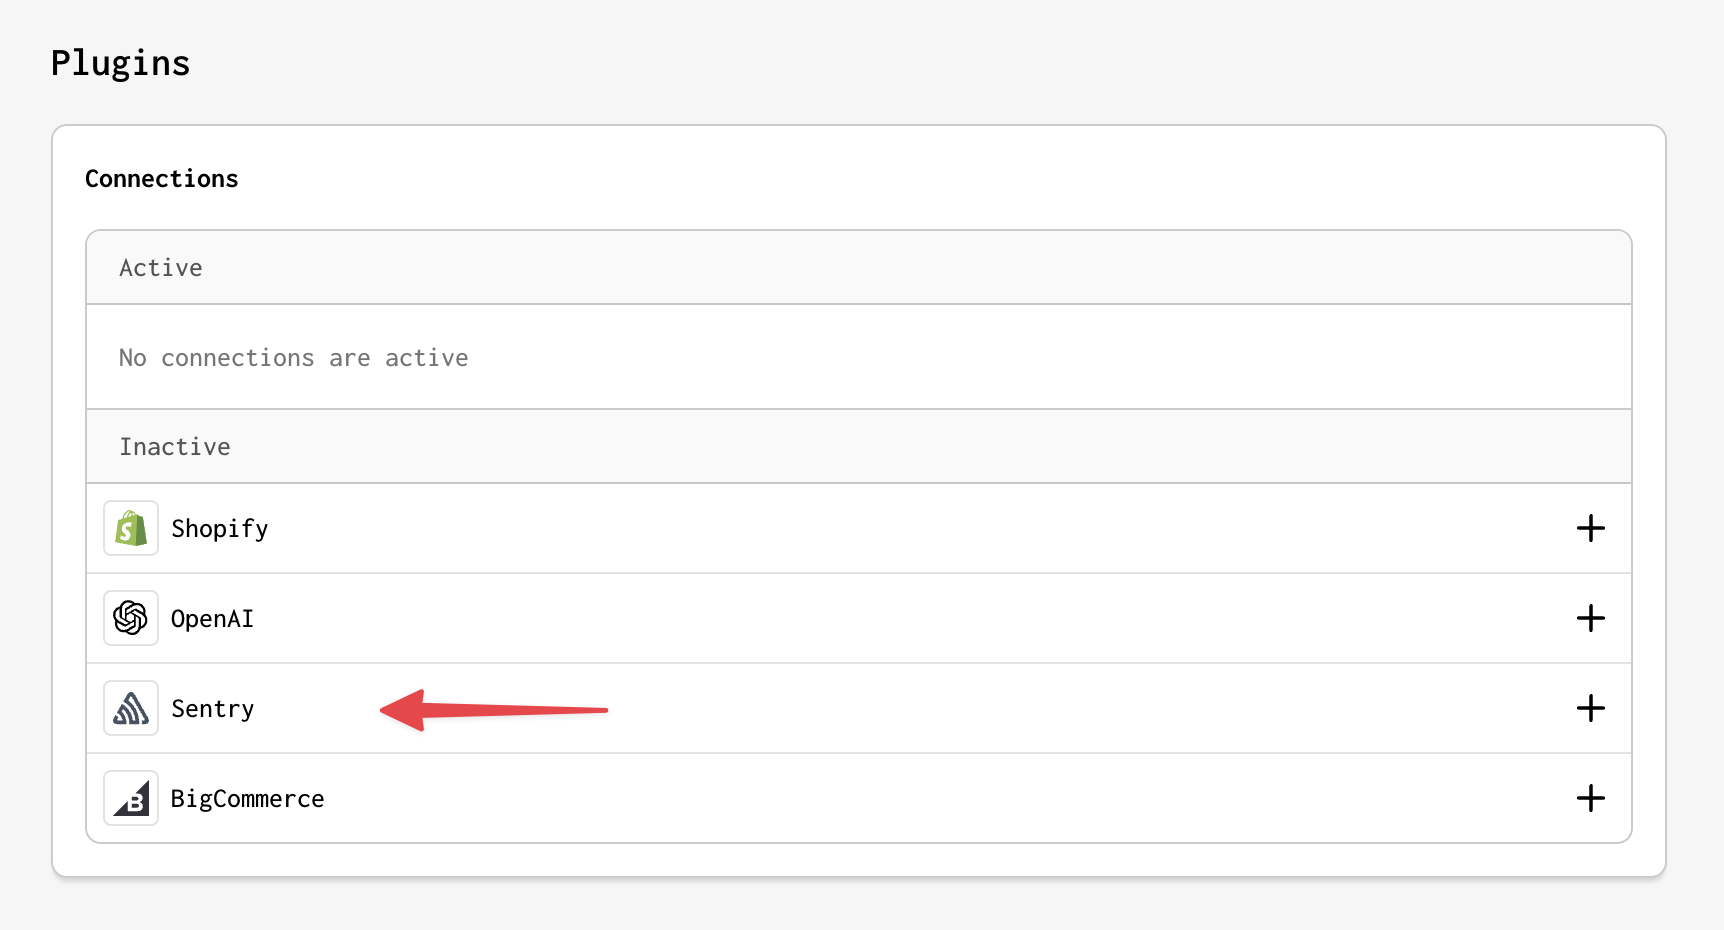
Now that your DSN is copied, head over to your Gadget application, click Settings -> Plugins on the sidebar to view the list of connections, and click on the Sentry connection to configure it.
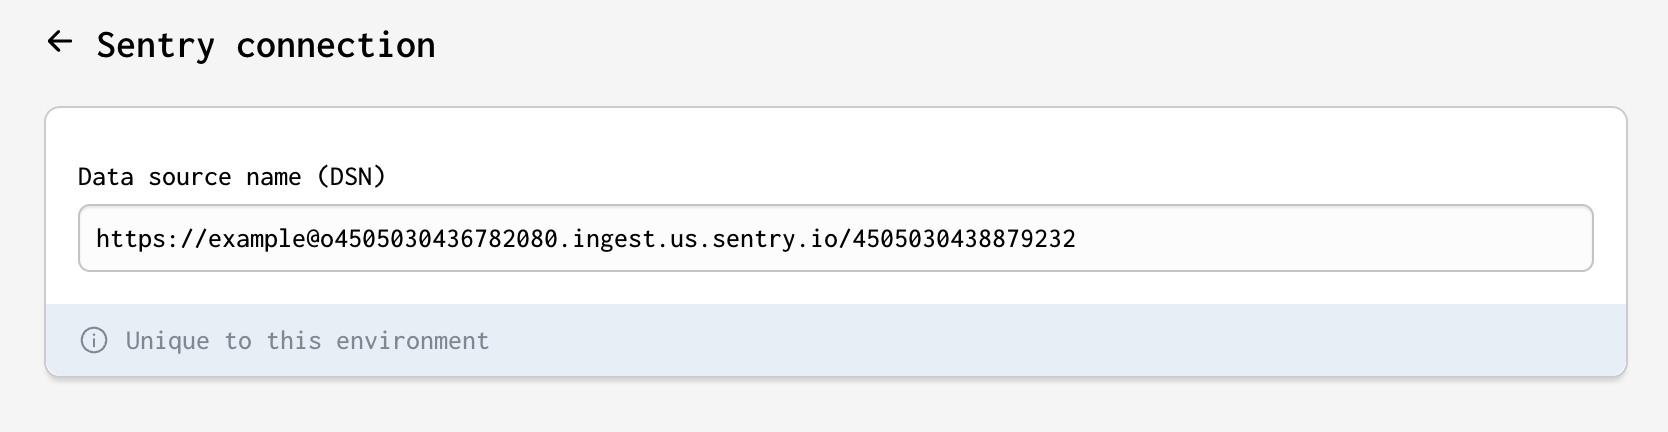
Paste your DSN into the Data Source Name (DSN) field and add the connection.
That's it! You're all set up. Now you can test out the connection by moving on to the next section.
How does the Sentry connection work?
The Sentry SDK is initialized for you so that it can be used inside any of your Actions, and any uncaught exceptions are automatically captured and sent to Sentry using the initialized SDK.
Uncaught exceptions
An uncaught exception is an exception that is not caught by a try/catch block. If an uncaught exception occurs, Gadget will automatically capture the exception for you and send it to Sentry.
Let's see what an uncaught exception looks like.
Create a new Global Action with the API Identifier testSentry. Throw an error inside your run function without surrounding it with a try/catch block.
Now test out your testSentry Global Action by calling its GraphQL API in the GraphQL Playground. You can access the API Playground by clicking on the API Playground link in the sidebar.
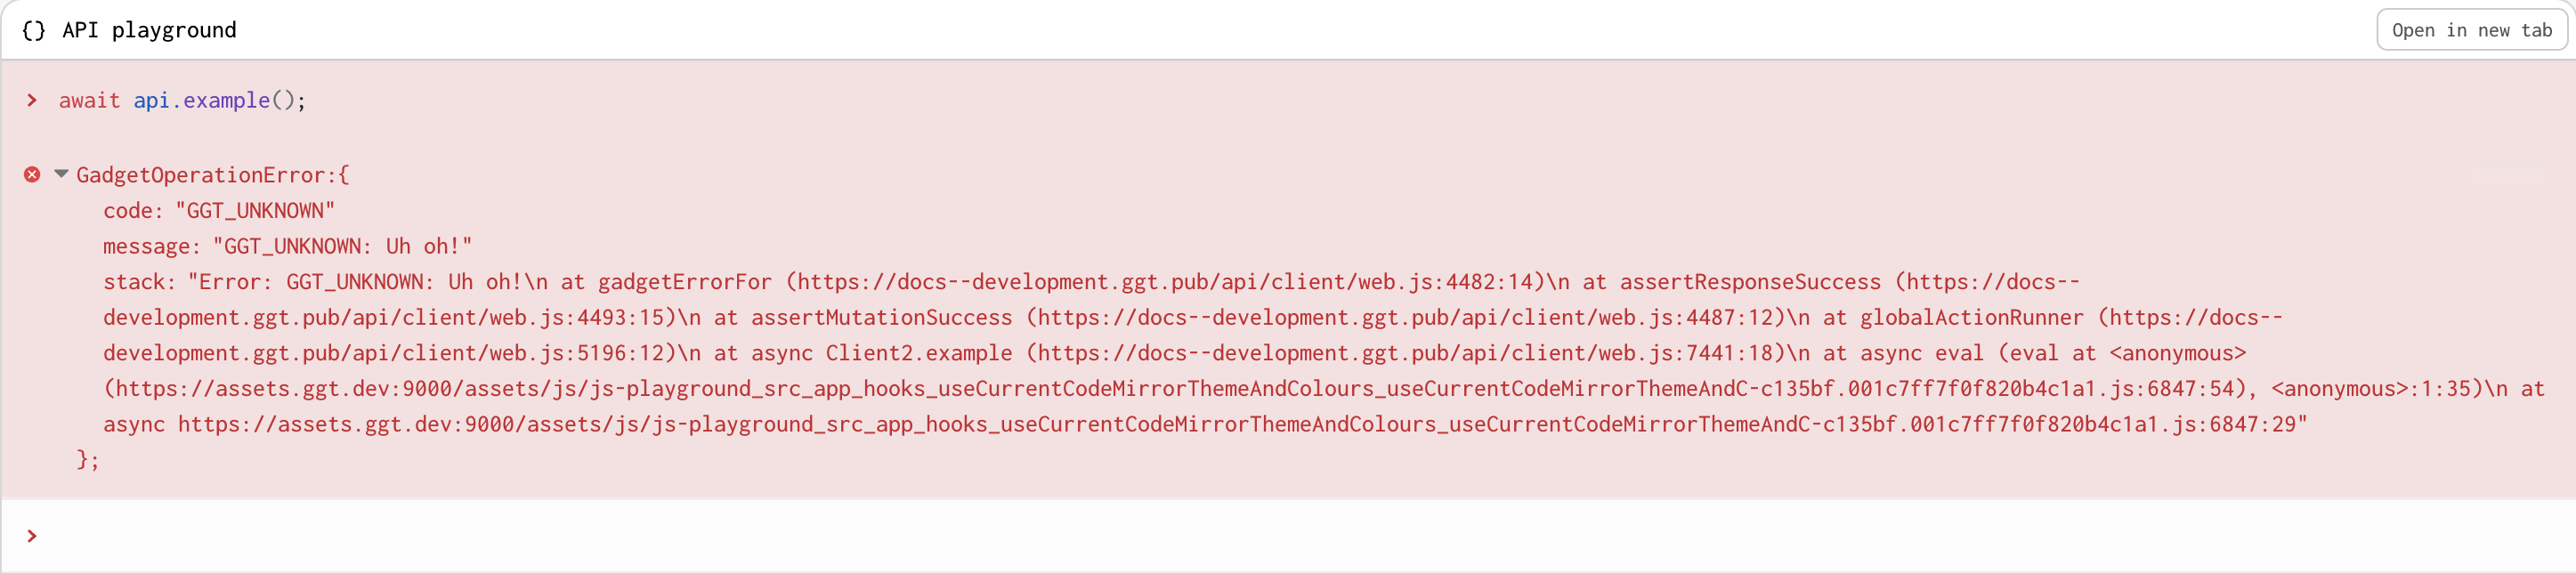
Try running the following in the API Playground:
You should see an uncaught exception!
This means your Global Action is working as expected. Now head over to your Sentry project's issues page and see if the error was captured.
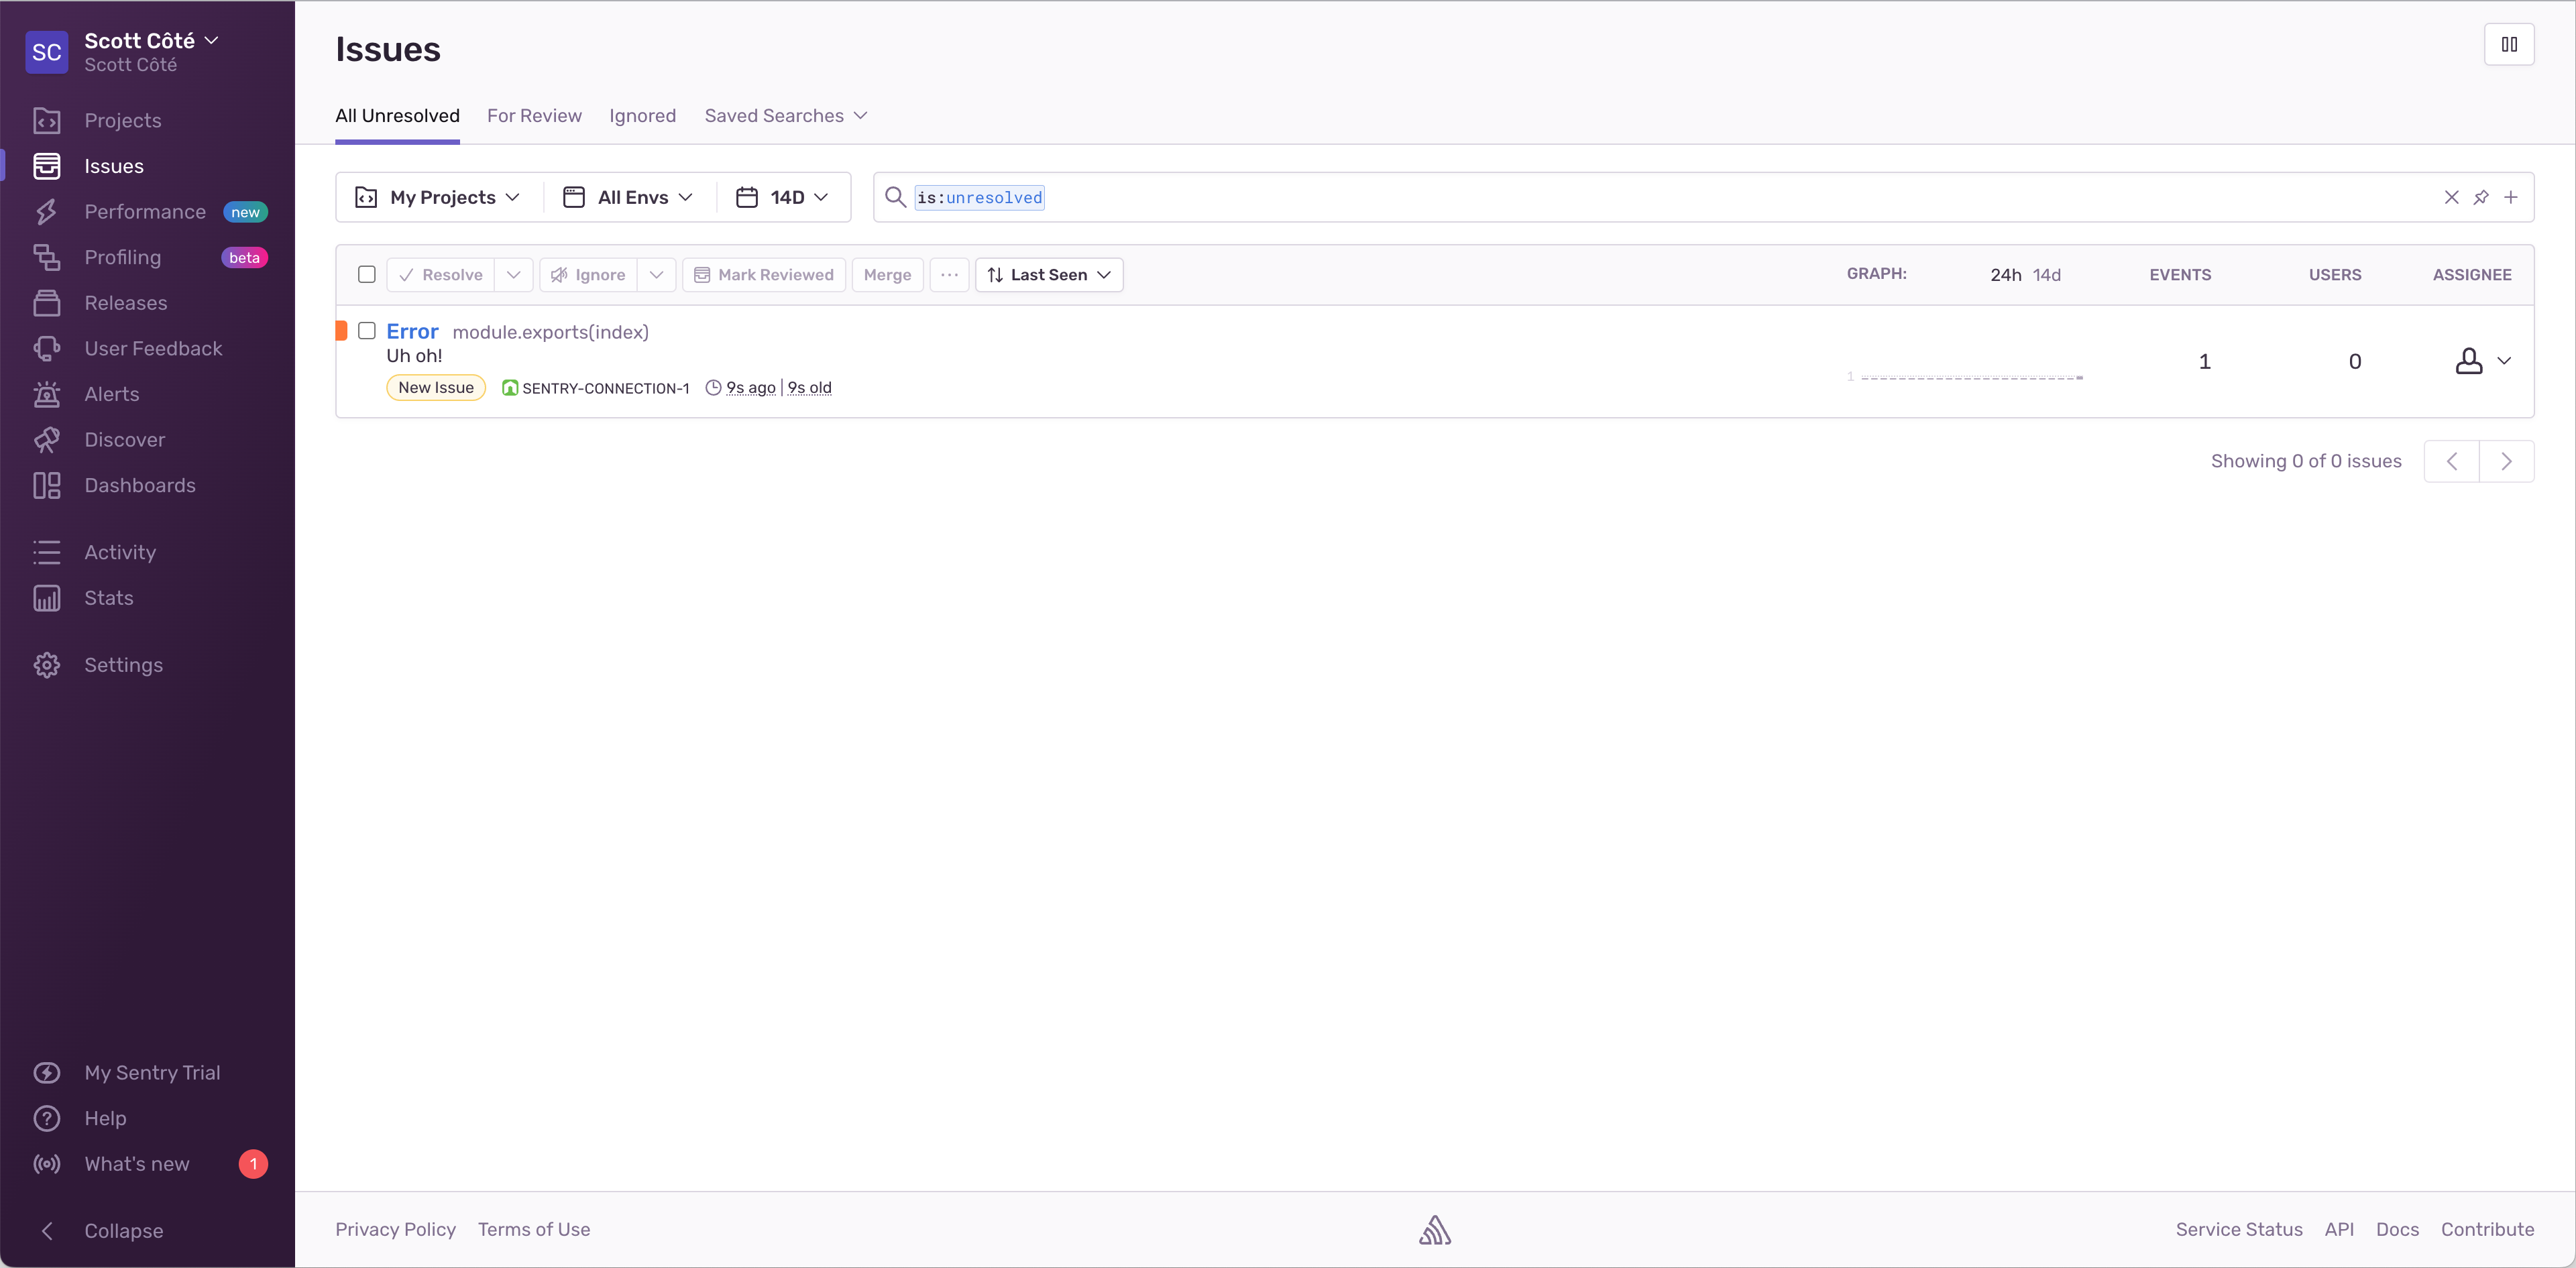
Looks like your error was captured and sent to Sentry! 🎉
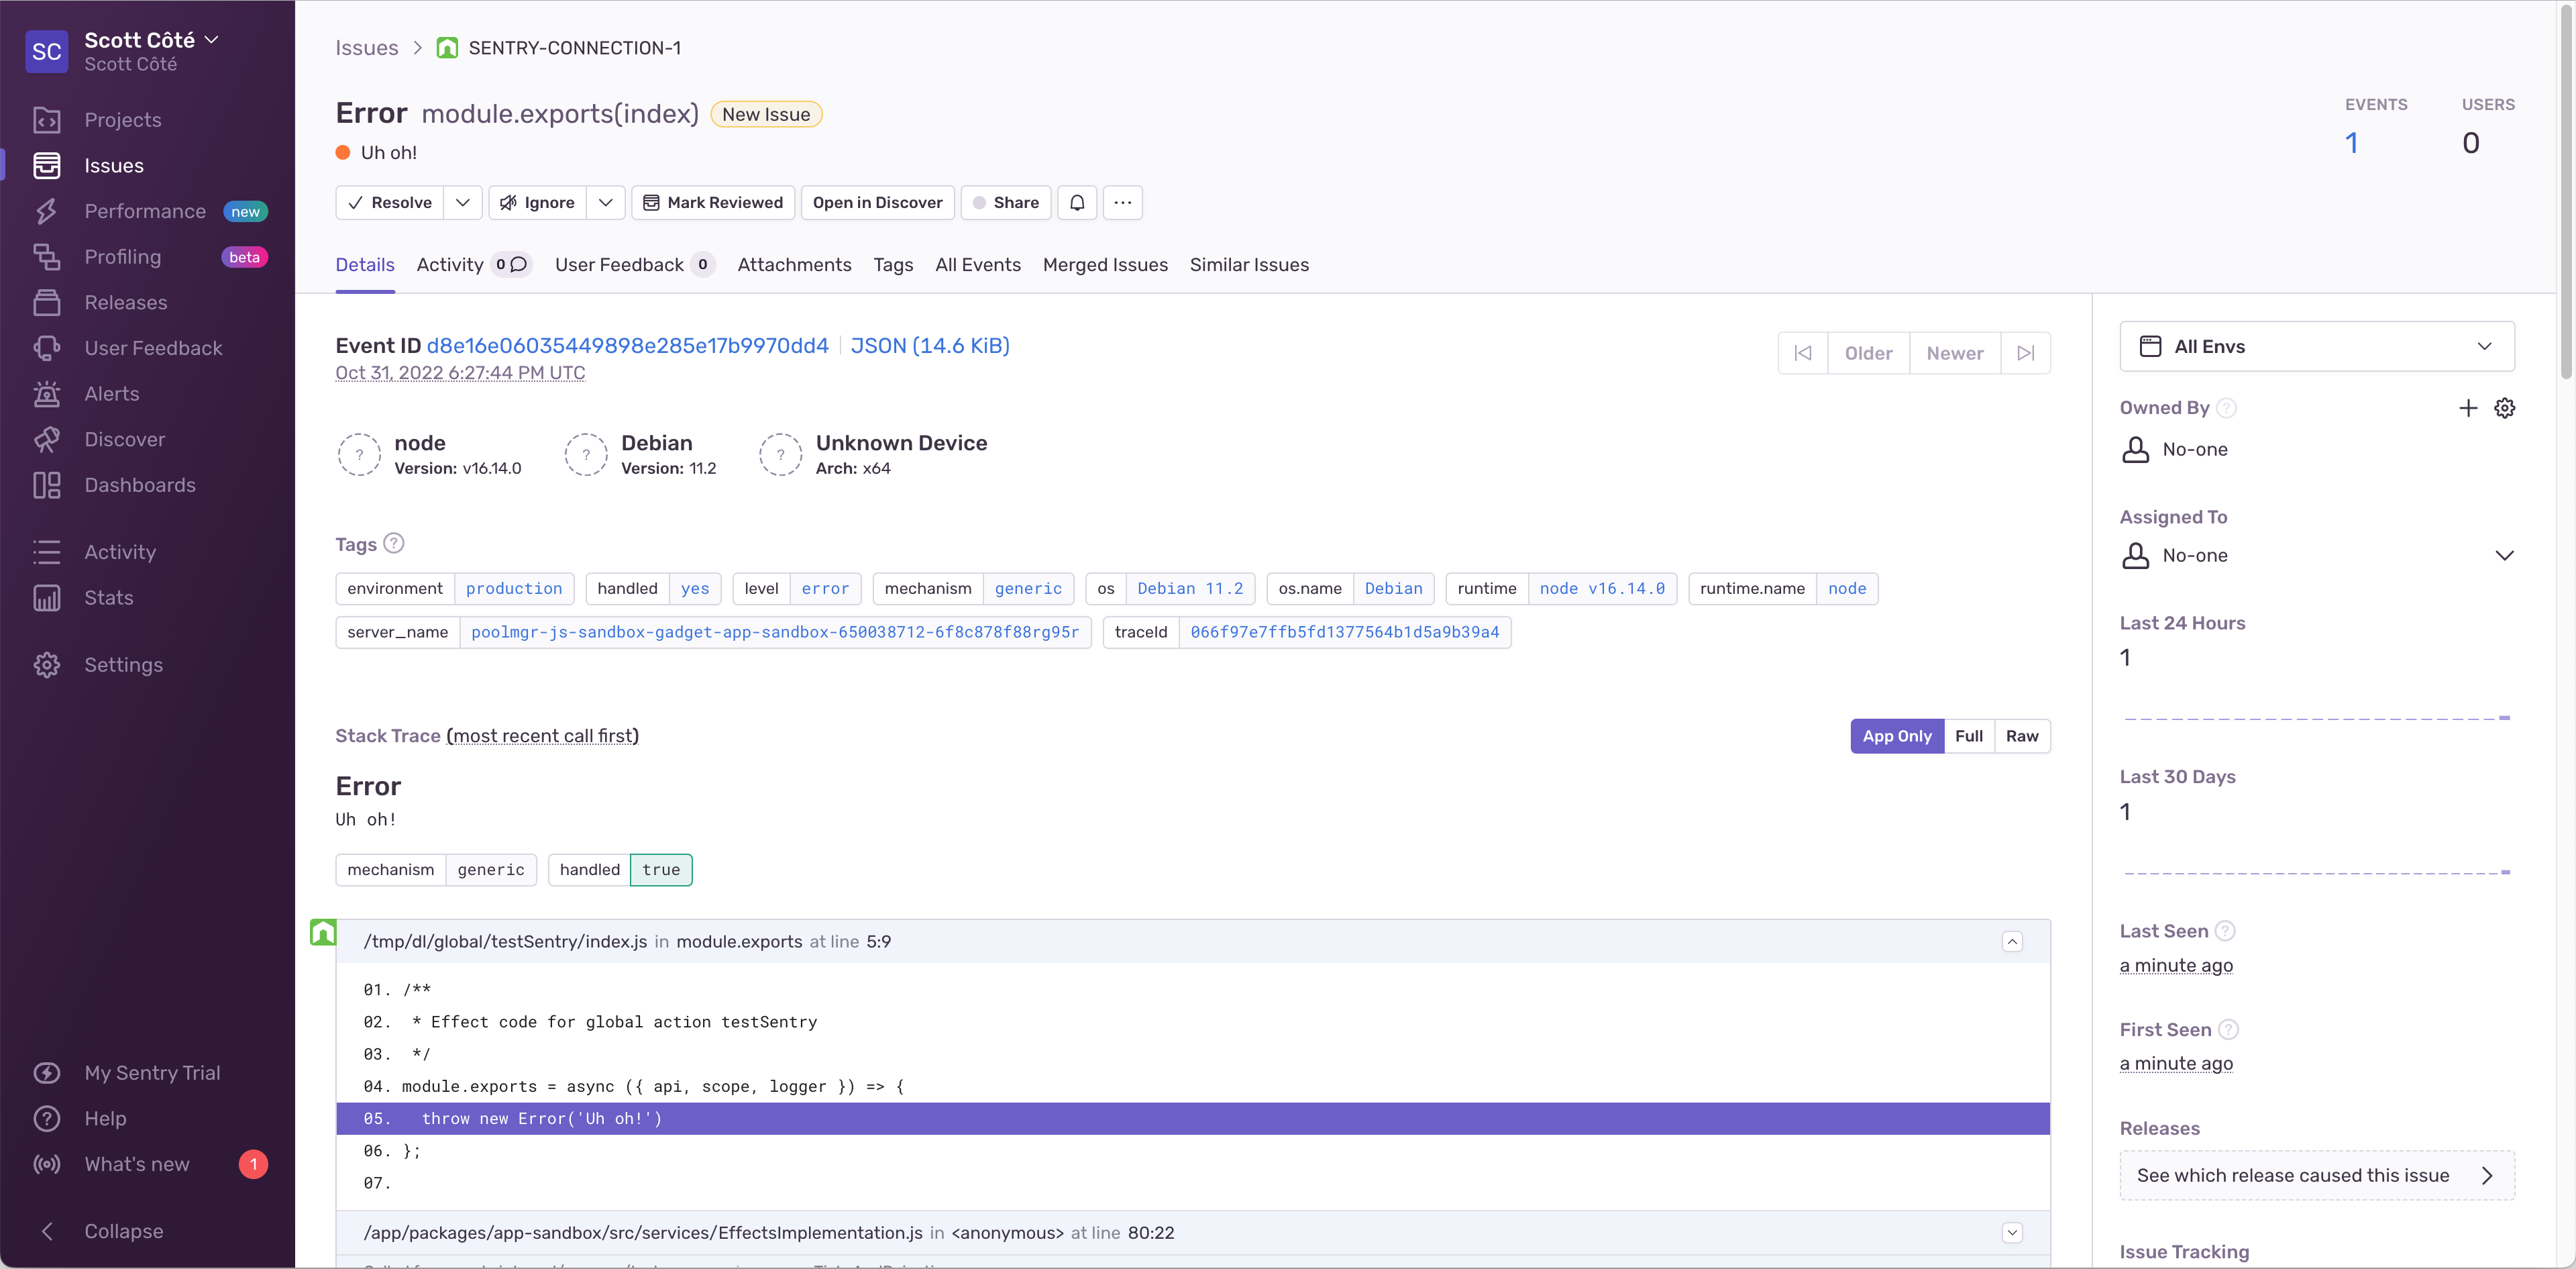
Clicking on the error displays additional information about it like the stack trace, tags, breadcrumbs, and more.
Manually capturing exceptions
The Sentry SDK is initialized for you to be used inside any of your Actions. When you initially configured the Sentry connection, we added the @sentry/node package to your package.json. This means that you can import the Sentry SDK into any of your Actions and use it to manually send events to Sentry.
Manually capturing exceptions is useful when you want to attach additional information to the exception before sending it to Sentry. For example, you may want to add a tag to the exception to indicate something unique about a particular error.
You can modify your testSentry Global Action to manually capture the exception instead of relying on Gadget to capture it automatically and add an additional tag.
With that in place, trigger your testSentry Global Action again by heading over to the GraphQL Playground and running the same mutation mentioned above in the Uncaught Exceptions section.
Your manually captured exception should appear in Sentry just like your automatically captured one did; however this time, we can see your additional foo: "bar" tag.

There you have it! You now know how to set up the Sentry connection and how to use it to manually capture exceptions with additional information.
Be sure to check out the Sentry documentation for more information on how to use the Sentry SDK.
Troubleshooting
If you don't see any errors in Sentry, here are a few things to check:
- Make sure a warning wasn't logged mentioning that Sentry could not be initialized while running an action. If a warning was logged, it means that the Sentry SDK was not initialized correctly. Check the warning message for more information on how to fix it.
- Make sure you have configured the Sentry connection correctly. You can check this by verifying that the Data Source Name (DSN) field is populated with the same DSN in your Sentry project's Client Keys page.
- Make sure you have the Sentry SDK installed. If you don't see the
@sentry/nodepackage listed in yourpackage.json, make sure to add it and click the Run yarn button on the top right.